

For more than twenty years I have been creating an annual photo journal. I first used the Apple Aperture offering and moved to creating photo books with Blurb Books since 2009 (initially using the Book module built directly into Adobe Lightroom Classic).
It was a standard end-of-year routine: selecting the best images, arranging them into a story, and finally seeing the year printed on paper. I say end of year, some years it took me to April to complete the book. Lead Photo: Lake District – Fujifilm X100F.
Contents
But when I moved my Lightroom catalogue fully into Adobe Creative Cloud back in 2020, I worried that tradition might come to an end.
Lightroom CC doesn’t include Classic’s built-in book workflow. While Blurb Books offers integration through its own BookWright application, my early experiments with automated imports were frustrating the photos transferred, but they refused to sort reliably by capture date.
Eventually, I settled on a much simpler, manual workflow. Here is the exact process I use each year to transition from Lightroom CC to a professionally printed Blurb book.
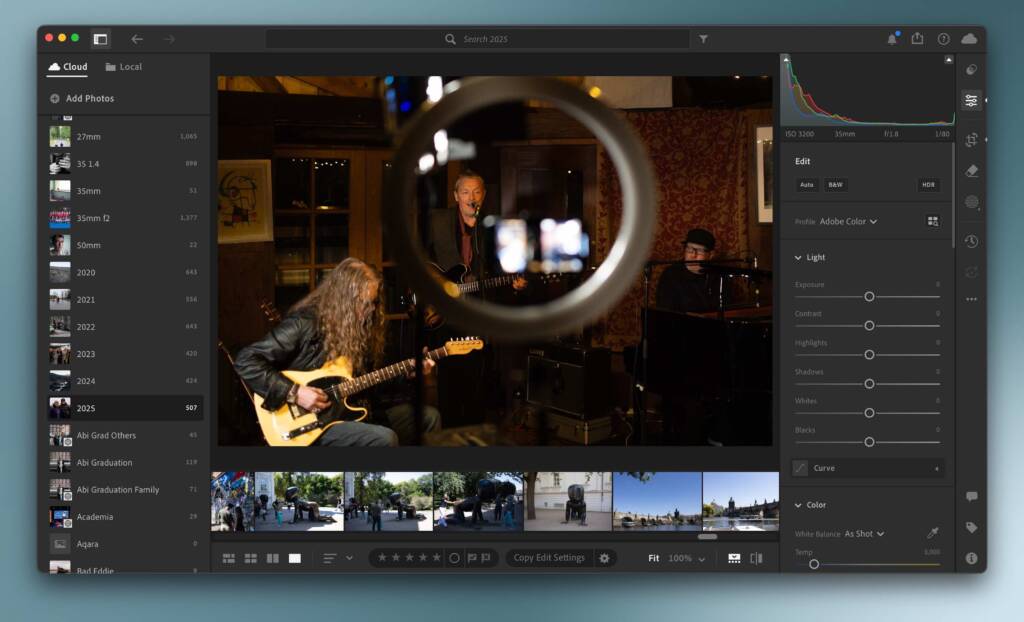
1. Gather Your Images in Lightroom CC
Start by opening Adobe Lightroom CC and switching to the All Photos view. If your left-hand panel isn’t visible, click the small menu icon in the top-left corner to expand it.
- Select By Date from the panel.
- Navigate to the year you want to turn into a photo book.
- Select all of the images from that year.
Some years naturally produce more photographs than others. Looking back, 2025 was a quieter year for many of us, while recent years have thankfully filled back up with travel, family moments, and everyday adventures.
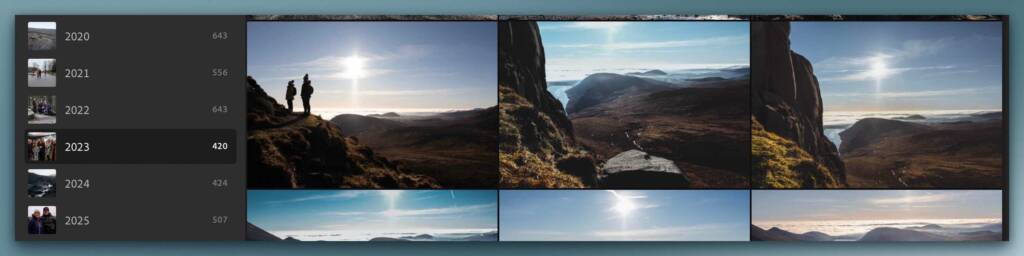
2. Create a Dedicated Lightroom Album
Before exporting anything, create a dedicated Lightroom album for your project. This step is essential because it allows you to curate your selection without messing up your main library.
With your yearly images selected:
- Open the Photo menu.
- Choose Add to Album.
- Either select an existing album or click the + icon to create a new one (I typically just name them by the year, like 2025 Photo Book).
Using an album gives you the ultimate freedom to experiment. You can remove duplicate shots, near-identical frames, or weaker images without worrying about deleting the original files.
Remember: restraint matters. Blurb books are excellent value, but a tighter edit almost always makes for a stronger, more impactful book.
3. Curate the Story
This is the stage that takes the most time. Switch into your newly created album and begin reviewing your photographs carefully. Your goal isn’t just to include your best individual shots, but to build a cohesive visual story of your year.
As you work through the album:
- Remove duplicates and near-identical bursts.
- Cut weaker variations to let the best shots shine.
- Keep images that add narrative or emotional value, even if they aren’t technically “perfect.”
- Think about pacing and variety (mix wide landscapes with close-up details).
To remove an image from the album, simply select it and press Backspace (Windows) or Delete (Mac).
IMPORTANT: Lightroom will display a confirmation message. Make absolutely sure you choose “Remove from Album” and not “Delete from Lightroom.” You want to keep these photos in your main cloud library!
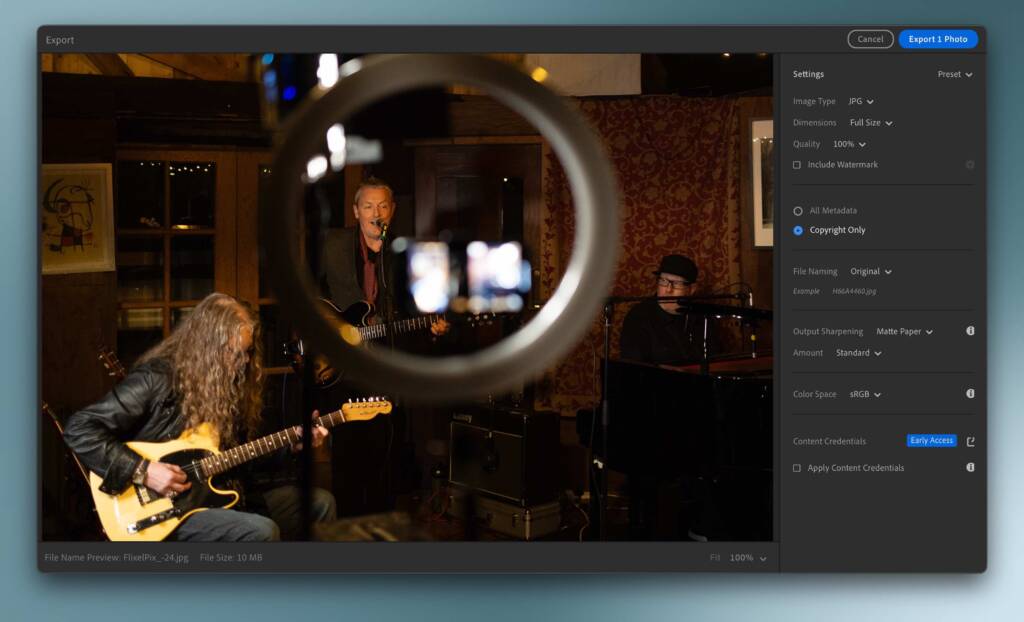
4. Export Full-Resolution Images
Once your selection is finalized, it’s time to get those files ready for print. Inside your dedicated album, select all photographs and go to File > Export.
For the absolute best print quality, use the following settings:
- File Type: JPEG
- Dimension: Full Size
- Quality: 100%
- Watermarking: Off
Depending on whether your originals are stored locally or need to sync down from the Creative Cloud, this process can take a little while. I suggest exporting everything into a dedicated desktop folder named after your book project (e.g., 2025_Book_Exports).
5. Build the Book in Blurb BookWright
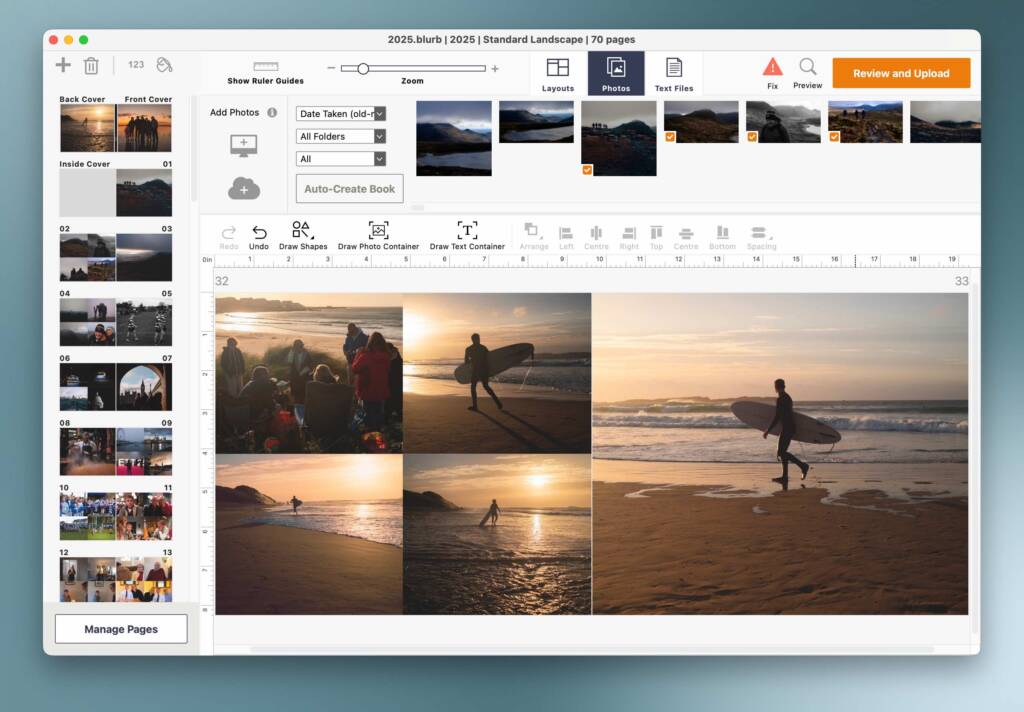
Now for the fun part. Open the Blurb BookWright application and sign in. Choose your preferred book format and size (I usually stick with standard photo book sizes and use the simplified layout mode to speed things up).
Once your project is set up:
- Import your folder of exported images.
- Sort them by Capture Date (this keeps your story flowing naturally from January through December).
- Begin building your layouts!
BookWright offers a surprisingly flexible design system, featuring:
- Pre-designed page layouts
- Customizable text boxes and captions
- Full-page spreads for those show-stopping landscape shots
My workflow is straightforward: I start at the beginning of the year and drag photographs into page placeholders as I go. You can easily reposition and scale images within each frame to perfect your composition.
Note: The software will display a warning icon if an image resolution is too low or if content sits too close to the trim edge. While you can technically ignore these, they are almost always worth paying attention to.
6. Proof and Print
Before hitting that order button, I always export a proof PDF and share it with family members for a final review. It’s amazing how many small spelling mistakes, chronological errors, or layout quirks a fresh set of eyes will catch.
Once everything is perfect:
- Upload the project to Blurb.
- Place your order.
- Optional: Purchase the downloadable PDF version for a permanent, searchable digital archive. I always order one of these.
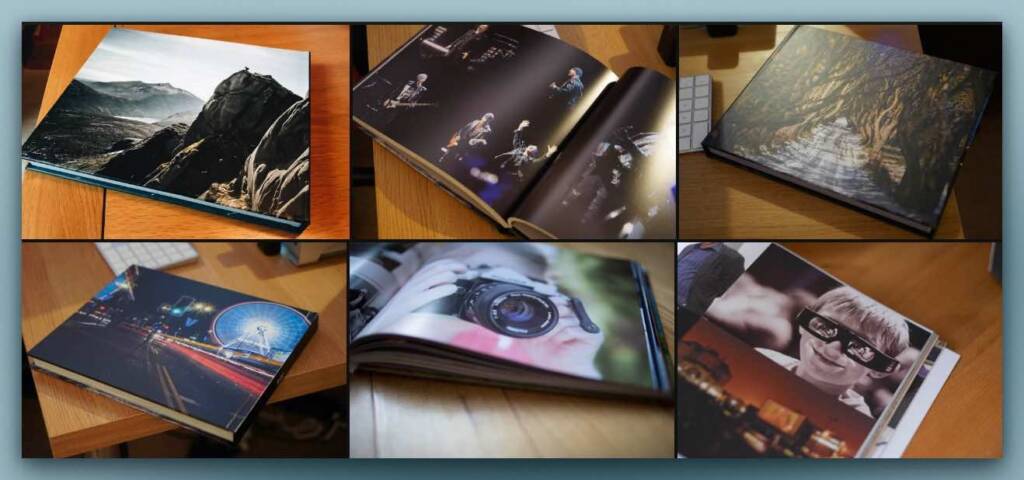
In my experience, the printed books usually arrive within 7 to 10 days, and the print quality never fails to impress.
Why I Still Make Annual Photo Books
In a world where thousands of photographs live and die on our phones, hard drives, and cloud feeds, printed photo books feel increasingly vital.
Instead of endlessly scrolling, you get to hold a curated story in your hands, one year at a time. Family holidays, weekend walks, random everyday moments, and favorite portraits are all preserved in something tangible.
That is exactly why I continue make a Blurb Book every year. The workflow might have shifted over the years, but the feeling of opening that printed book makes every single step worth it.
Links
Blurb Books
Lightroom Presets
Photography eBooks
Photography Articles
Discover more from DC
Subscribe to get the latest posts sent to your email.
